


Table of contents

No headings in the article.
Do you want to learn react.js and build applications with it? This article covers the most basic part of react: creating a react application.
In this article, we'll be using a very popular development tool: the command prompt or terminal.
What is React?
React is a declarative, efficient, and flexible front-end JavaScript library for building user interfaces or UI components. React makes it painless to create interactive UIs. It was created by Facebook in 2015 and has been maintained by a community of individual developers and communities
This is not a react tutorial, so we won't dive deep into the structure of react. Now that you know what react is, let's dive into creating our first react app.
Creating our first React application
First, Open up your terminal. If you are using a MacBook, you can just open your launchpad(the 6 window-like button on your keyboard). If operating on windows OS, navigate to your apps folder and open the terminal. Either way, you could search anywhere in your system for the terminal.
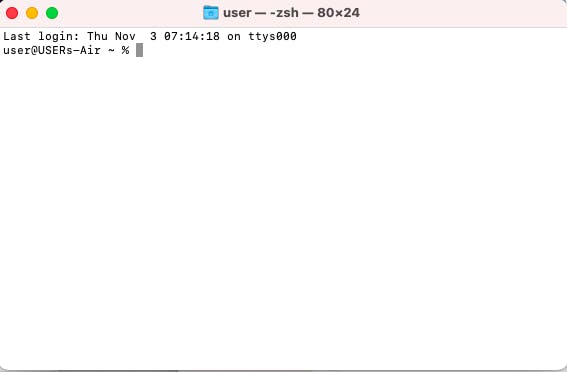
After opening, the terminal, you should see a window come up. The default directory location of the terminal is the root folder of your system, which in most cases, has been renamed to your name. This is how your terminal should look if you're using a Mac
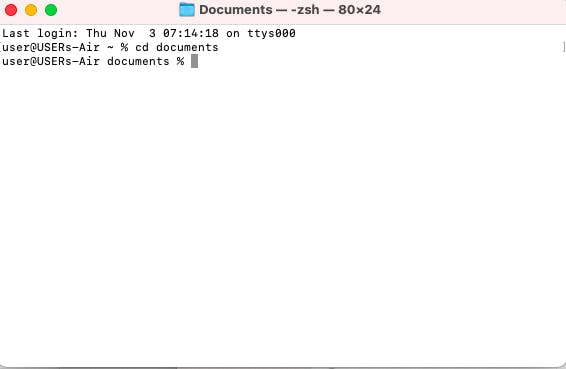
Then, we have to navigate to the folder you want to create your app in, which, once again, is usually the documents (It could be any folder of your choice though.). We do this by changing the directory to the folder you want to work in. I'll be making reference to documents since I use documents but, once again, it could be any folder you want. Use the command below and hit enter:
cd documents
Then, your terminal should change to this:
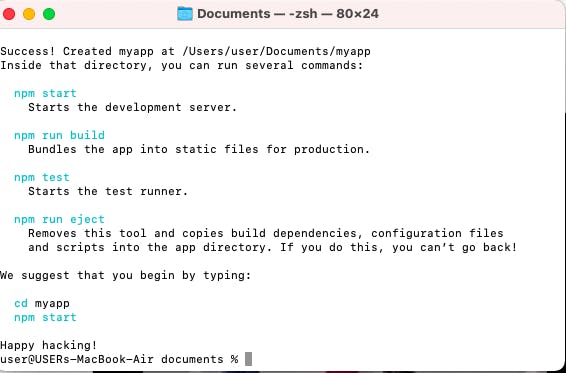
Great! Now, the next command to enter is the create react app command. This command is for those using npm.
npx create-react-app appname
NB: If you don't have npm installed, this command won't work since the npx package comes with the npm package manager. To see if you have npm installed, run the following command:
npm -v
If it doesn't return any version, it means you don't have npm. To install it, paste the following into the command line/terminal:
npm install -g npm
Alternatively, if you are using the yarn package manager, the following command is for you:
yarn create react-app appname
Feel free to replace appname with whichever name you choose. Whatever you do, remember not to add spaces in your app's name since it'll only use the first word in the name as the app's name.
When your app has been created, it should look like this
And, as is stated, we'll move into the app's folder by typing cd appname
cd appname
Note that appname should be replaced with whatever name you gave to your app
And then, we'll start the development server by typing the following command:
npm start
When you do that, your browser should pop up showing this window:
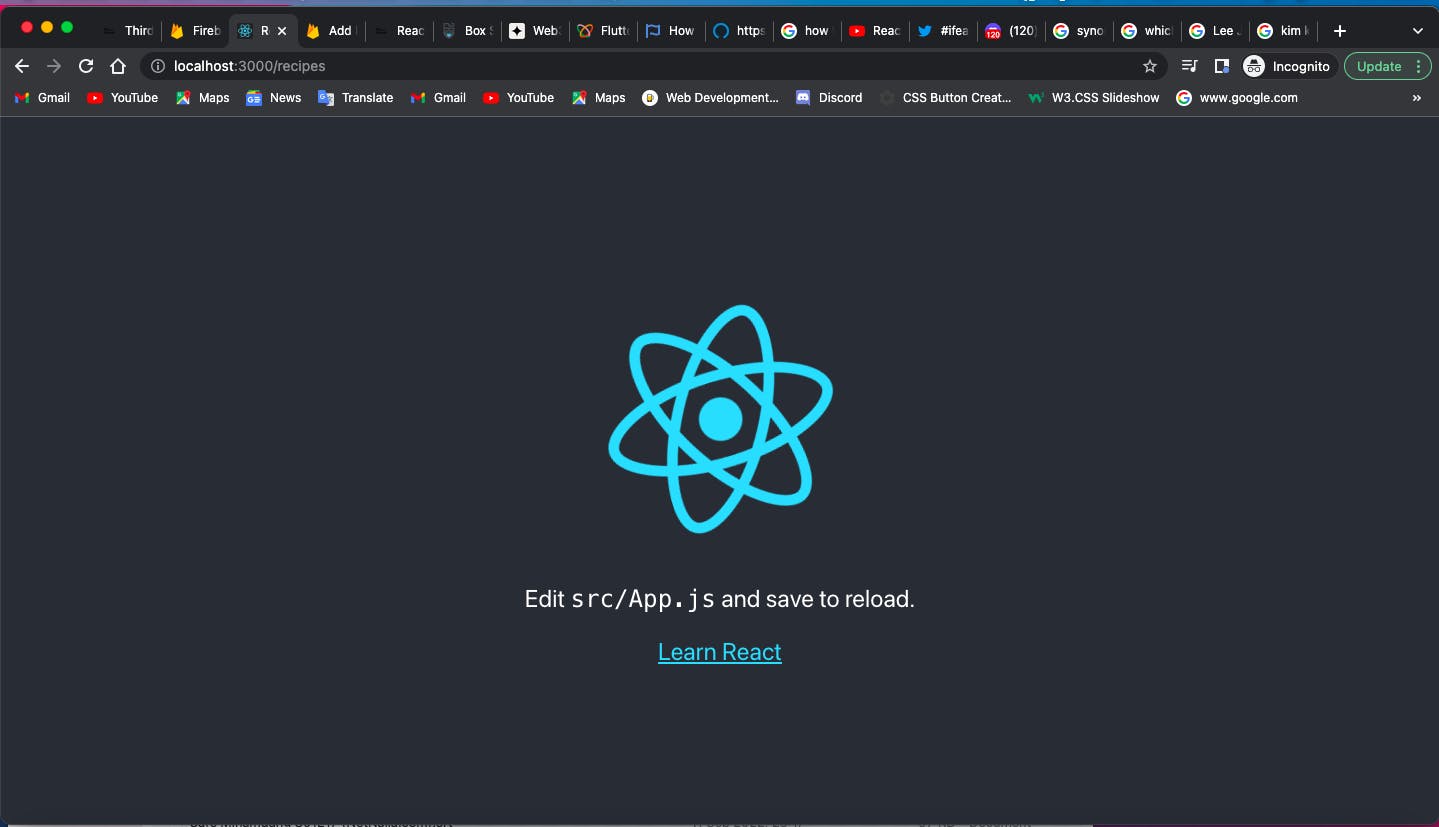
And Voila! Your app is ready. Now you can open it in your local IDE and make changes to get started.